What to expect when you install SPC or vinyl flooring
By Adam · Updated 2026-06-08
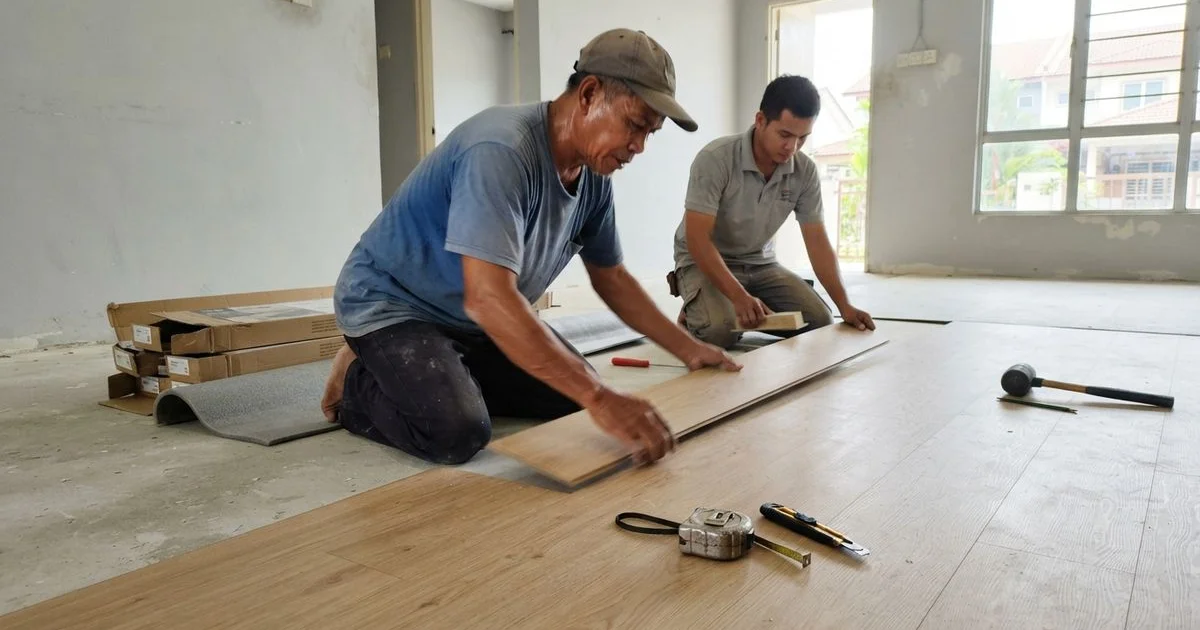
SPC and vinyl plank are the most straightforward flooring materials to install, which is part of why they’ve become the default choice for a lot of renovations in the area. Browsing vinyl and SPC flooring contractors shows how many local installers specialise in this exact material. No wet trades, no long cure time, and a click-together system that doesn’t need adhesive for most rigid-core products. Still, easy does not mean nothing to check, and the steps a contractor skips are usually the ones that show up as problems months later.
The installation process, step by step
| Stage | What happens | Typical time |
|---|---|---|
| Subfloor inspection | Check for major unevenness, moisture, or debris | 1-2 hours |
| Subfloor prep | Sweep, patch low spots, remove old flooring if needed | Half a day |
| Underlayment | Foam or moisture-barrier underlayment rolled out | 1-2 hours |
| Plank installation | Planks click together row by row, cut to fit at edges | Half a day to a full day |
| Trim and finishing | Skirting, transition strips, and door thresholds fitted | 1-2 hours |
For a 30 sqm bedroom or study, expect the whole job done in about half a day to a day. A 60 sqm living and dining area typically takes around a day, and a full 100 sqm apartment usually runs closer to two days, all excluding any furniture moving or old floor removal.
What actually determines quality here
Because SPC and vinyl are click-together systems, a lot of the visible finish quality comes down to two things: how flat the subfloor was before installation, and how carefully the planks were cut and fitted around edges, doorways, and fixtures. A rushed job on an unlevelled subfloor can leave planks that flex, click apart at the seams, or show gaps within the first year, even though the material itself is fine.
Ask whether subfloor levelling is included if your existing floor has visible dips or a sloped section, and don’t assume “yes” just because it wasn’t mentioned in the quote.
If you’re weighing whether to click these planks together yourself, the DIY flooring installation vs hiring a professional guide breaks down where DIY installation genuinely saves money and where it doesn’t.
Moisture and underlayment matter more than they look
Ground-floor rooms and areas near bathrooms or kitchens benefit from a proper moisture-barrier underlayment, not just a basic foam layer. In a humid climate, moisture rising through a concrete slab can cause planks to swell or lift at the seams over time if there’s no barrier between the subfloor and the flooring. This is a cheap step to get right and an expensive one to fix after the fact, so it’s worth confirming what underlayment is specified before work starts, not after planks are already down.
Getting ready before the crew arrives
Clearing the room of furniture and personal items ahead of time is the single biggest thing you can do to speed the job up and keep the price on track. Most quotes assume an empty or near-empty room, and moving furniture on the day adds time the crew didn’t budget for, which can either slow the job down or turn into an extra charge. If large furniture needs to be shifted between rooms rather than out of the house entirely, mention that when you book so it’s factored into the schedule.
It’s also worth checking door clearance ahead of time. Adding new flooring plus underlayment raises the floor level slightly, sometimes enough that internal doors need trimming at the bottom to swing freely afterward. A good installer flags this during the site visit rather than leaving you to notice it once the furniture’s back in place.
What a good installer does differently
A careful installer walks the room first, checks for slope with a level rather than by eye, and plans the plank layout so cut pieces end up in less visible spots like under furniture or near walls. They’ll also leave a small expansion gap around the room’s edges, hidden by skirting, since rigid-core flooring still moves slightly with temperature changes.
If a contractor skips the subfloor check and starts clicking planks together on day one without explaining what they found underneath, that’s worth asking about before the job goes further.
Our scoring method explains how contractor listings on this directory weigh workmanship, which is a useful reference before booking anyone for this kind of job.
FAQ
- How long does it take to install SPC or vinyl flooring?
- A single room around 30 sqm generally takes a crew half a day to a day. A full apartment closer to 100 sqm usually takes about two days, assuming the subfloor is already in reasonable condition.
- Does the subfloor need to be perfectly flat before SPC flooring goes down?
- It needs to be reasonably flat and clean, not perfectly level. SPC and rigid-core vinyl are more forgiving of minor unevenness than tile, but noticeable dips or bumps should still be levelled first, since they can telegraph through the planks over time.
- Can SPC or vinyl flooring go over existing tile?
- Often yes, provided the existing tile is sound, flat and free of major cracks. A contractor should still check for loose tiles or hollow spots, since installing over a compromised surface just hides the problem rather than fixing it.
- Do I need to leave the house during installation?
- No, click-together SPC and vinyl installation is dry work with minimal fumes, so most people stay in the home while it's done, though moving furniture out of the work area ahead of time speeds things up.